Showing posts with label roasted. Show all posts

Sunday, January 20, 2019

By Far Our Favorite Way to Prepare Cauliflower (And Broccoli)

It's been a while since I posted a recipe, but here's one that I've got to share.  It's oven roasted cauliflower (and broccoli) with garlic and oil.  Lately, we have been harvesting a lot of cauliflower.  In fact, we have so much coming in at the same time that we'll have to blanch some (more on that later!)

Cauliflower, when it is ripe, is a beautiful vegetable.  It is a full, white snowball.  I always want to pick it at its prime.  Sometimes I'll let it go a day too late, but it's still good to eat.  In the past, we'd steam cauliflower, and that is doggone good.  But, we discovered a new way to eat it that I think is superior to steamed.  In fact, with all the cauliflower coming in, we ate it three nights in a row last week and I'm still not tired of it.

A big beautiful head of cauliflower

I'll harvest the cauliflower head off of the plant, leaving the big leaves on the stalk.  I use a big knife to separate it from the stalk.


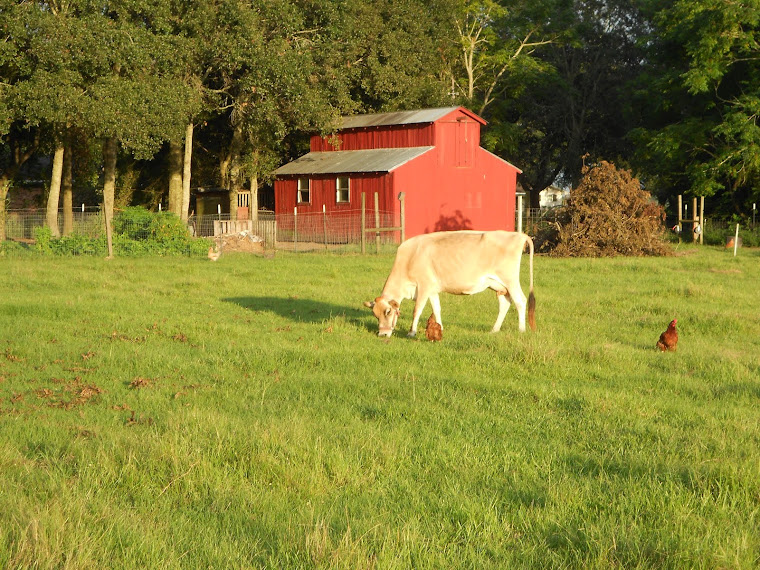
Invariably, the cows will see me in the garden and will come running to beg.  I will relent and feed them the cauliflower greens.  Those girls love fresh garden produce.  They poke their big noses over the fence and stick out their tongues...


I'll harvest the broccoli heads, too, once they've reached their zenith, but I don't feed the cows the greens from the broccoli.  I'll tell you more about that later this week.


So, to prepare oven roasted cauliflower and broccoli, simply break up heads of broccoli and cauliflower into florets.  Don't toss the stalks.  They are good eating, too!  Preheat your oven to 450 degrees.  Layer the broccoli and cauliflower on a baking sheet.  Take a quarter cup of coconut oil and drizzle over the top of the broccoli and cauliflower and toss to coat.  Liberally add sea salt and cracked black pepper and mince 5 cloves of garlic.  Sprinkle it all over the top and toss some more.  Put into the oven and roast for 15 minutes.  Stir and continue roasting for an additional 10 minutes.


Then take out and serve.  I double dog dare you not to taste before you spoon some onto your plate.


I'm convinced it cannot be done!

Wednesday, November 18, 2015

What Shall We Do With Our Homegrown Peanuts?

In This Post we planted some Schronce's Deep Black Peanuts in the garden.
In This Post we harvested them, and
In This Post we dried them.

Whatever shall we do with them now?  Well, we will eat them, of course, but how? Benjamin and I decided that we would parch (roast) one tray to snack on and with the other tray, we would make homemade peanut butter.  We always called them 'Parched Peanuts' growing up, but based on what I read, parched and roasted means the same thing.

Let's get the ball rolling.  We poured the dried peanuts into two baking trays and positioned the peanuts where they were only one layer deep.

Two trays of peanuts
We preheated the oven to 350 degrees and put the baking trays into the oven, setting the timer for 25 minutes.
Lovin' in the oven
About 18 minutes in, the house filled with a warm, soothing aroma of parched peanuts.  I opened the oven door to check on them and that proved to be a mistake. The kitchen filled with a little smoke coming off the peanut shells.  We didn't want them to burn, so I turned off the oven and pulled one out to test, while leaving the peanuts in the oven until the 25 minutes expired.

Parched peanuts
While some of the peanut shells look scorched, the peanuts inside were just fine, roasted, toasted, parched (or whatever you want to call them) to perfection!  We snacked on a few and then decided to shell one of the trays to make peanut butter. The first thing you do is remove the peanuts from the shell.  Then you remove the skins from the peanuts.

In the photo above and those following, the skins look black.  They aren't burnt. These are Schronce's Deep Black Heirloom Peanuts.  The peanuts themselves aren't black - the skins are.

Removing the Shells
Shelling the peanuts is the easy part.  Removing the skins is the time-consuming step.  Apparently, you don't want the skins in peanut butter.  We removed them by rolling them around in our fingers until the skins came off.

Benjamin skinning the peanuts
While we got most of them, I'll admit that my patience was growing thin toward the end.  Finally I told Benjamin, "Hey, look, I bet a few skins in our peanut butter isn't going to hurt anything."  One baking tray of parched shell-on peanuts yielded just over a cup of (mostly-skinned!) nuts.  They smell so good!

Deez Nuts!
Now comes the easy part.  Simply put them in a food processor and add a little olive oil and kosher salt.  Put the lid on the processor and pulse.  Check the consistency of the peanut mixture and add more olive oil until you achieve the viscosity you are looking for.

A little oil, a little kosher salt...
In a few minutes of pulsing, we had achieved the pinnacle of peanut perfection.  A dark brown roasted peanut butter ready to eat!  

Our work here is done!
Now most store-bought peanut butter is light brown.  Ours is very dark.  I'm not sure why, but I assume the reasons are two-fold.  First, our peanuts were parched, so the peanuts we used to make the peanut butter were darker in color.  Secondly, the black-skinned peanuts I left in probably made color darker as well.  Who cares what it looks like - it tastes great!

I took a butter knife and took a big mound of freshly made peanut butter and slathered it on top of a piece of bread:


Once I had spread it out evenly, it was time to eat.  I gave a portion to Benjamin, a portion to Tricia, and I ate the rest.

Peanut Butter Open-Faced Sandwich
Delicious!!  The one cup (plus a little bit) of peanuts yielded about a third of a pint of homemade peanut butter.  I placed it in the fridge.  Today I picked up some chocolate and I'll get out the homemade peanut butter, and...


There used to be a commercial for Reese's Peanut Butter Cups where a guy eating chocolate ran into a girl eating peanut butter.  "Hey, you got chocolate in my peanut butter!"  "Hey, you got peanut butter in my chocolate!"

Image Credit
I'm going to recreate that commercial tonight.  That sounds good right about now!
Monday, November 16, 2015

Roasting Pumpkin Seeds

In Yesterday's Post we pureed some pumpkin for making pies later and urged you not to discard the seeds.  First you'll want to save some seeds for next year's pumpkin crop.  But we like to eat a bunch of the seeds.  When you scoop the seeds and 'guts' out of the pumpkin, separate out as much of the stringy stuff as you can. I measured the amount of seeds that we had and it was about 1 1/2 cups of seeds. Perfect.

Pumpkin Seeds put aside for roasting
Other than pumpkin seeds, all you need is butter and salt.  Melt a couple of teaspoons of butter.

Melted butter
Pour the melted butter over the seeds...


Sprinkle some salt over the buttered pumpkin seeds and stir it up to mix the seeds, butter and salt all together.


Then spread the seeds out on a baking tray as evenly as you can.

Ready for the oven
Preheat your oven to 350 degrees and once it is warm, place the baking tray full of seeds into the oven.  Bake them for about 45 minutes.  You'll see them getting golden brown and smelling great.


Yep, these pumpkin seeds are roasted and ready to eat!

Roasted Pumpkin Seeds
This is a great snack and it is a shame that many people forget about how good roasted pumpkin seeds are and how easy they are to make and eat!  You don't even need to remove the seeds like you do eating sunflower seeds - you can eat the entire pumpkin seed.  So crispy, buttery, salty and good!


Thursday, February 14, 2013

Garlic Roasted Cauliflower

With everything going on lately with chicken butchering, livestock shows, transplanting tomatoes, and constant rain, I've slacked on some things.  One of those was the cauliflower harvest.  Sadly, I let the cauliflower go a few days farther than I would have liked and didn't pick them at their prime.  I promise you this, though, they won't go to waste.  Here is a shot of some of the cauliflower, cosmic purple carrots and berlicum carrots in the fridge in our vegetable crisper.

Harvested cauliflower in the fridge
One of our favorite things to do with fresh cauliflower is to roast it in the oven with garlic.  We also steam some, but the garlic roasted cauliflower is a family favorite.  We snack on it like candy.  So we broke the florets off of the hard stem and put them on a stoneware baking tray.

Breaking off bite-sized florets
Drizzle a little olive oil over the cauliflower and toss it up so that a little of the oil coats the florets.  Don't go too heavy as we'll be adding butter later.

Drizzling the olive oil
We now take a few cloves of garlic and mince them up real good and sprinkle amongst the olive oil-drizzled cauliflower. 
Mincing some delicious garlic

Next we take a spoonful - or two of homemade butter from Daisy and we melt it so that it is pourable.

It comes out of the udder, we turn it into butter.
Then we pour the butter over the cauliflower and garlic mixture and toss it up real good.  We have a pre-heated oven waiting and simply pop the tray in the oven until the cauliflower florets are golden brown and the aroma and hungry family members fill the kitchen. 
Pouring on the butter
We take the stoneware tray out of the oven and allow to cool a little bit and then the feast is on!

Yum!
Normally, not much of this even sees a plate as we encircle the tray and eat right out of the oven.  It is a simple dish that is simply delicious.

Looks good, huh?

Related Posts Plugin for WordPress, Blogger...